Adding a masthead
The masthead, previously known as the banner, is the large image at the top of any page. Though there are spearate components for each page type, adding a masthead to the page is the same for all.
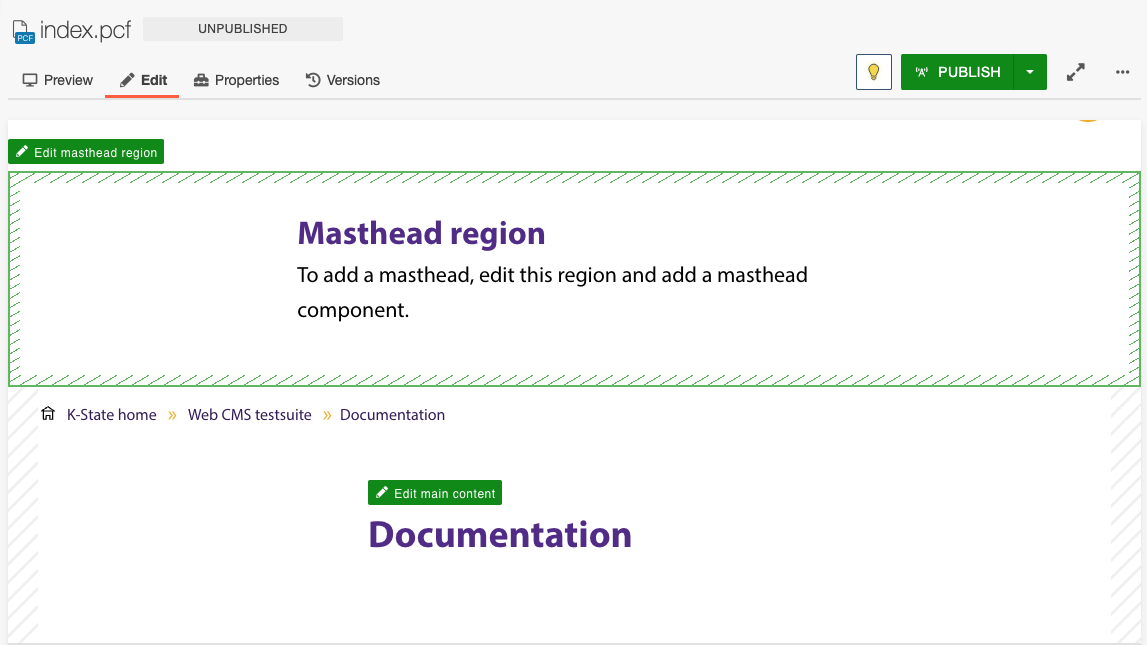
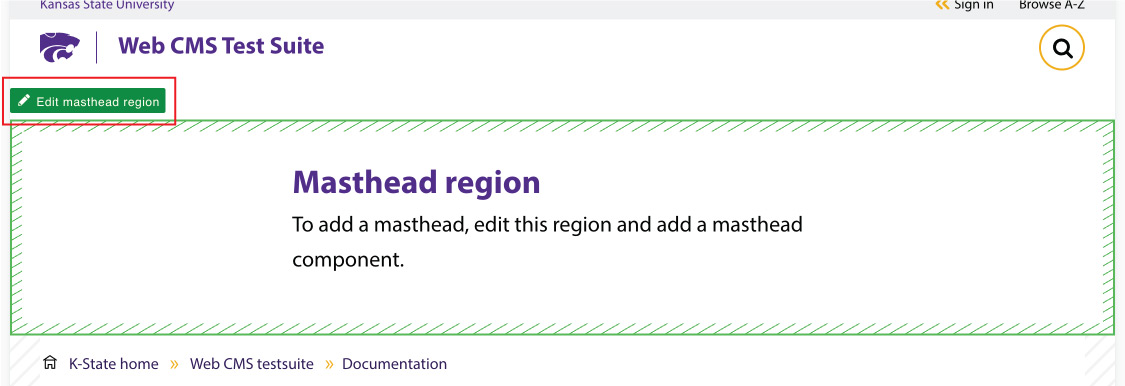
First, check the page to see if the masthead is turned on. When the masthead is turned on, you will see a separate editing region at the top of the page. This region is only visible in the "Edit" window.
When a file is checked out (see Checking files in and out), page Properties can be accessed from two place in the CMS:
- From the Pages List View
- From the single Page Action View
Accessing Page Properties
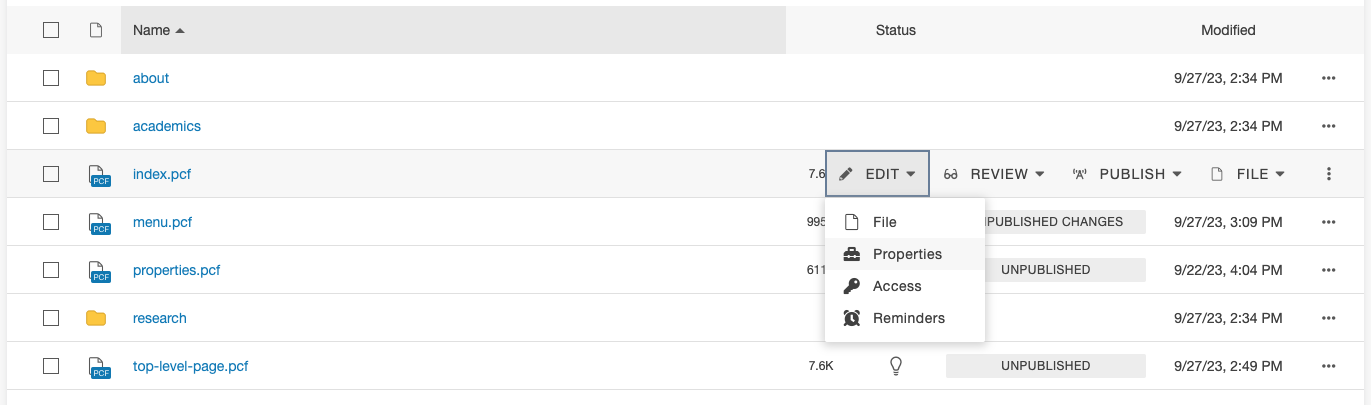
From the pages list view
- Under the Content tab, click Pages.
- Locate the file and check it out by clicking the lightbulb.
- Hover and from the Edit menu, choose Properties.
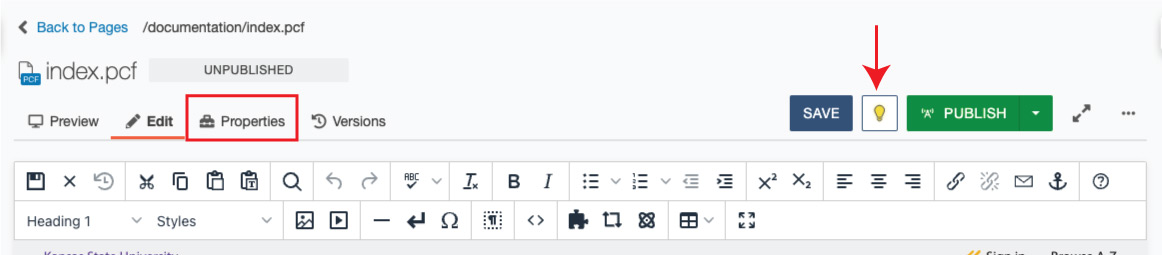
From the page action view
When in preview/edit mode, click Properties on the page action toolbar. The file must be checked out to get the page parameters and custom settings portions of the Properties.
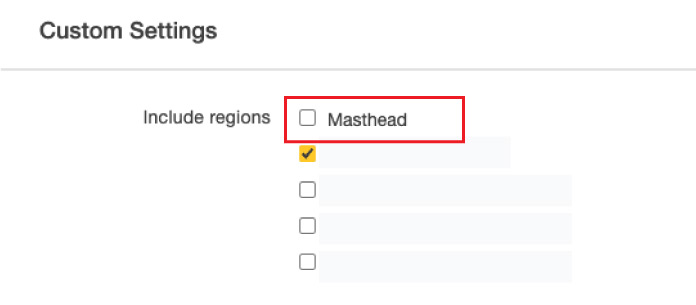
Turning on the masthead
In Page Properties under Custom Settings, you will find several checkboxes with different page regions. Click the checkbox next to Masthead. It will be highlighted with yellow and a checkmark when it is turned on.
Adding the masthead component
Click the edit button at the top of the masthead region that says Edit masthead region.
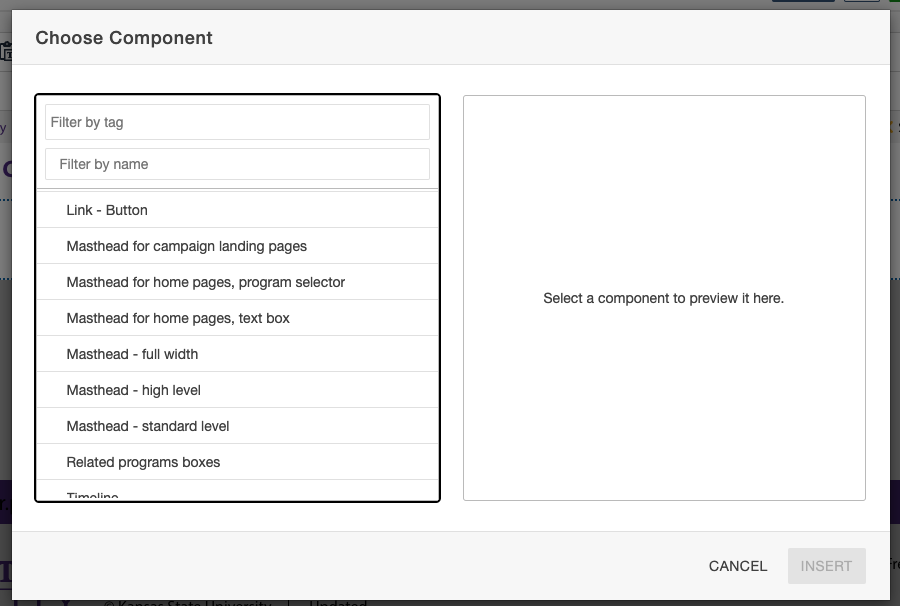
With the CMS page editor open, click the four pointed star in the editor toolbar to insert a component.

Select the Masthead component that corresponds with your page type. Click Insert.
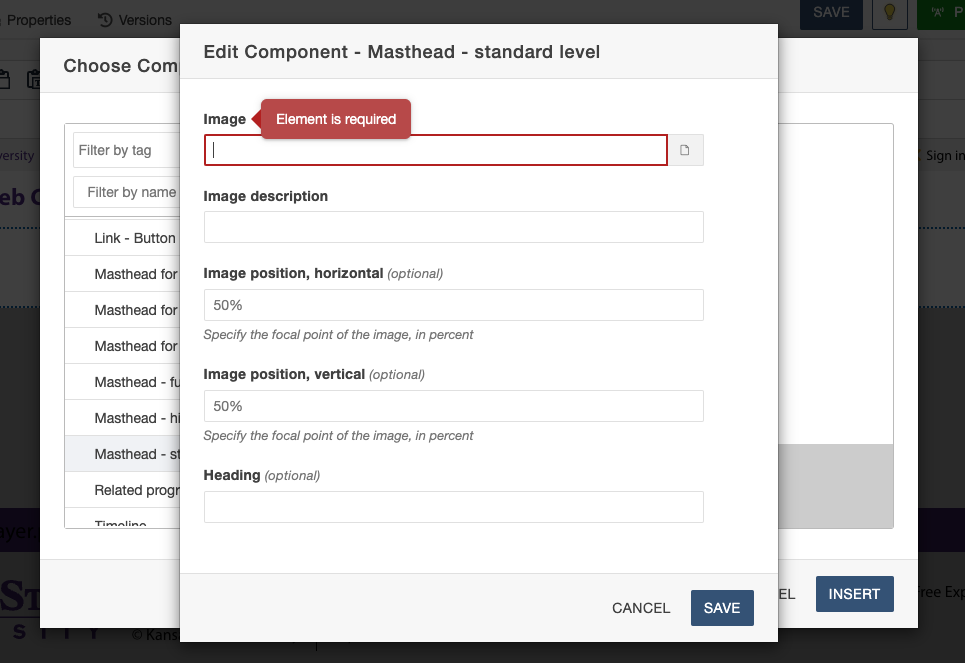
Fill out the masthead dialog box with your information. Click Save.
Save the masthead region to review your changes.